You can use your favourite software applications such as Adobe Illustrator or Photoshop to create artwork for your designs.
The process can be summarised in the following steps:
- Download the dieline for 3D design.
- Open the dieline in your favourite application (Illustrator etc)
- Add your artwork and design your packaging.
- Export the file as an image file.
- Upload the image to Die Cut Templates to view the 3D mockup.
Download the Dieline for 3D design.
In this tutorial, we are going to explain how to download the dieline for 3D design.
Because each dieline is a vector file, in order to create the 3D mockup correctly, it’s crucial that the dimensions of the dieline and the artwork marches.
Easiest way to achieve this is to start with the dieline file that Die Cut Template provides.
Open the 3D view in Die Cut Templates
Navigate to the model page and redraw the dieline with the desired dimensions and Switch to the “3D Mockup” view by clicking on the “3D Mockup” tab.
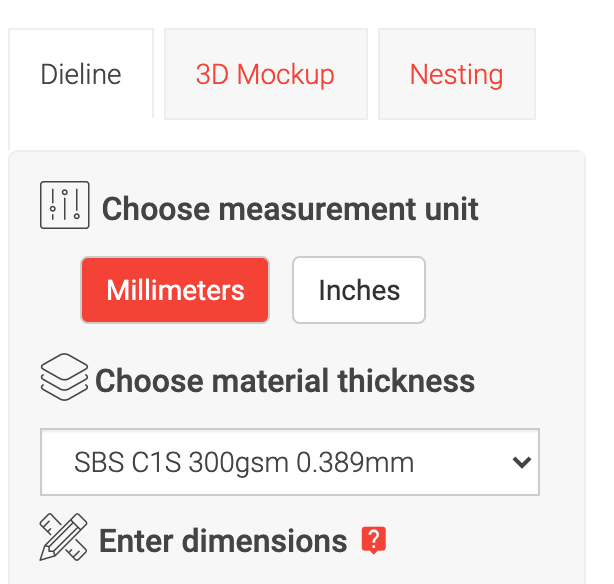
Save your design.

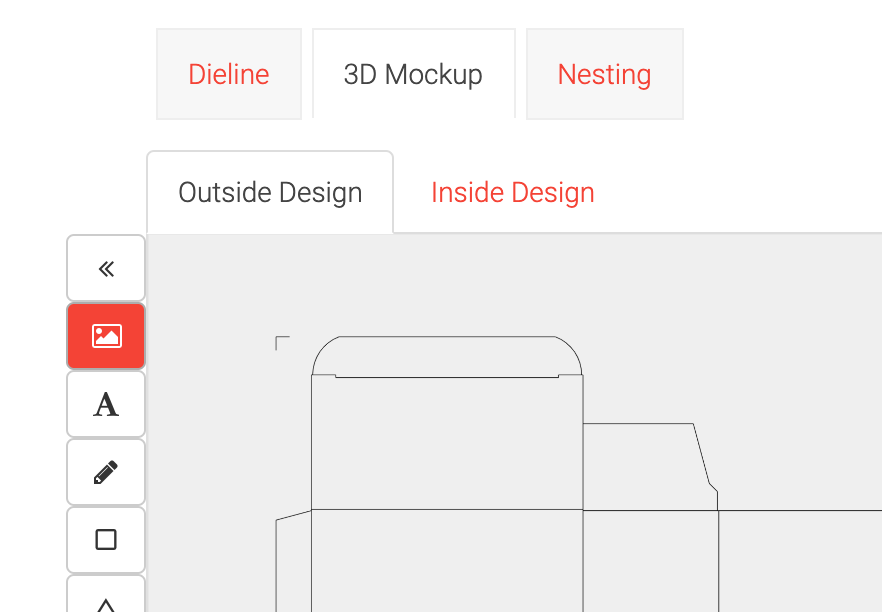
Open up the “Image Upload Popup”
Click on the “Image” tool to open up the “Image Upload Popup”
What kind of image you would like to upload?

Click on the "Upload dieline with finished artwork." button on the left.
Download the “starting dieline”
Now, you can download the starting dieline file. The reason we call this the "starting dieline" is that you can use this dieline as a starting point to design your 3D mockup.
There are 4 file formats available to choose from.
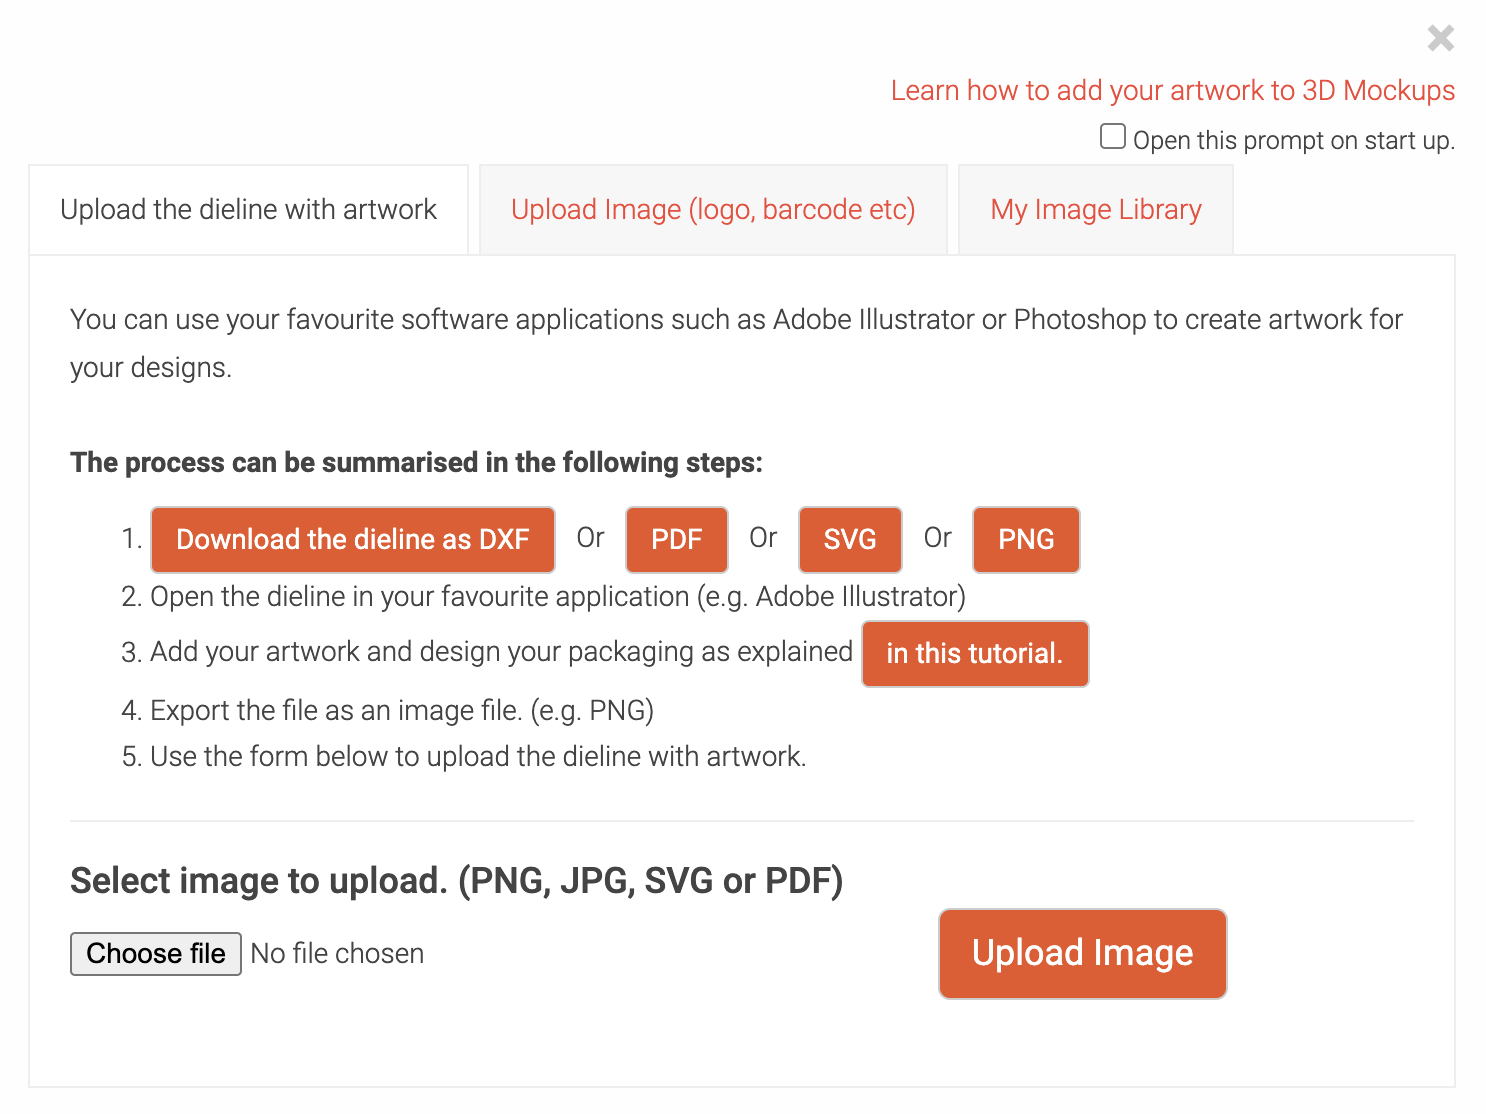
Choose the file format
Depending on the file format you have chosen, please continue as follows:
There are 3 file formats available to choose from.
For DXF: please visit How to create artwork in Adobe Illustrator using DXF format
For PDF: please visit How to create artwork in Adobe Illustrator using PDF format
For PNG: (tutorial coming soon)
For SVG: (tutorial coming soon)